You planted your yellow squash with every intention of doing things right. You watered consistently, kept the weeds under control, and gave the plants plenty of sun. But somewhere along the way, things went sideways — pale, drooping leaves, fruits that barely formed, or a mid-season slowdown you couldn’t explain. If that experience sounds familiar, the root cause is almost always the same: yellow squash fertilizer, specifically the wrong type applied at the wrong time, or no additional feeding at all after the first week.
The good news is that once you understand how squash grows and what it needs at each stage, feeding it correctly becomes second nature. This guide walks you through everything in a practical, straightforward way — whether you’re growing a few hills in a raised bed or managing a larger kitchen garden.
Why Yellow Squash Is Hungrier Than You Think
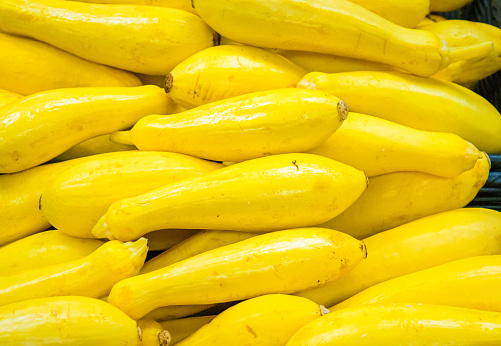
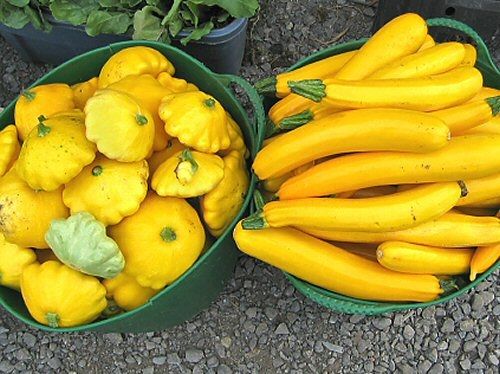
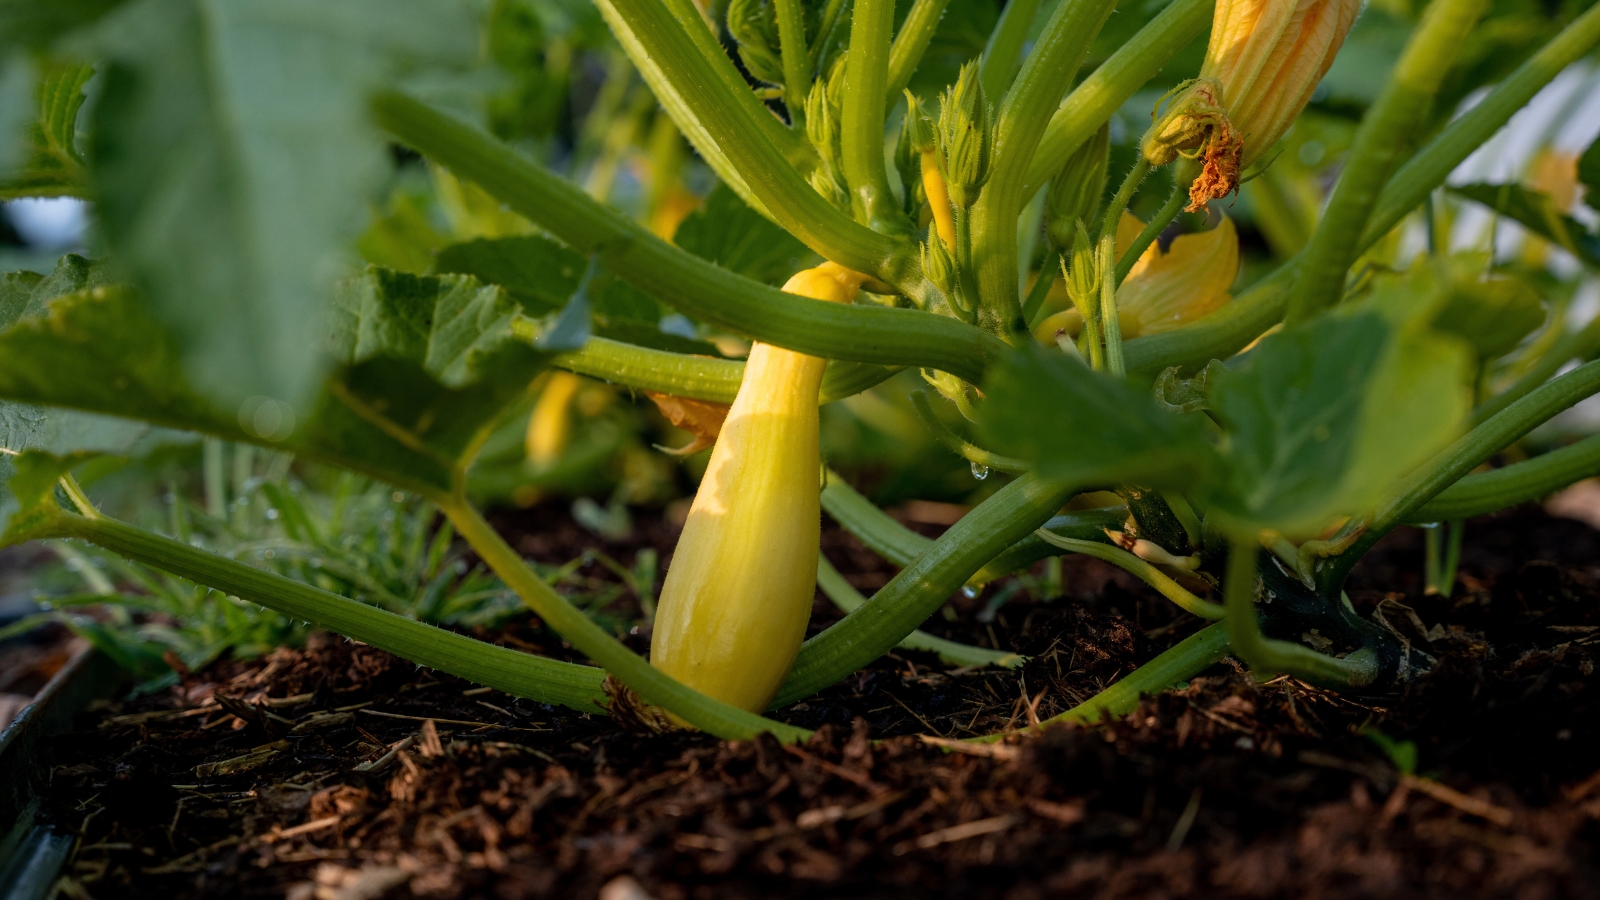
Yellow squash (Cucurbita pepo) belongs to a group gardeners commonly refer to as “heavy feeders.” The plant is genuinely ambitious — it produces wide, oversized leaves, sends out sprawling vines, and pushes out multiple fruits at the same time. Sustaining that level of output requires a steady, well-balanced flow of nutrients that average garden soil simply cannot provide on its own.
A useful way to think about it: your squash plant is essentially working at full capacity from the moment it sprouts until the end of the growing season. Any gap in nutrition shows up quickly — in leaf color, plant structure, or fruit production. Getting your yellow squash fertilizer approach right from the start is not an optional extra. It is the single most reliable way to protect the health and output of your plants.
Here is a real-world example worth considering. A gardener growing squash in a suburban backyard had the same problem every summer — strong early growth followed by a noticeable drop in production by mid-July. After a closer look at the feeding routine, the issue was clear: one application of granular fertilizer at planting, and nothing after that. A consistent mid-season yellow squash fertilizer program changed the results entirely the following year.
Understanding What Nutrients Yellow Squash Actually Needs
Before picking up any product from the garden center shelf, it helps to understand the three primary macronutrients and the specific role each one plays in squash development.
Nitrogen (N) is responsible for leaf and vine growth. In the early stages of the season, squash needs a good nitrogen supply to build a strong plant framework. When nitrogen is lacking, leaves turn yellow from the bottom up and stems lose their firmness. That said, too much nitrogen later in the season redirects the plant’s energy toward foliage rather than fruit — which is a common and costly mistake.
Phosphorus (P) supports healthy root systems and flower development. A plant low in phosphorus will often produce buds that fall off before any fruit sets. It is one of the quieter deficiencies but one of the most damaging to overall yield.
Potassium (K) helps regulate water movement through plant tissue and contributes to fruit quality and structural resilience. It also plays a role in how well the plant holds up against common diseases like powdery mildew, which is a persistent problem for squash growers in many regions.
Secondary nutrients — calcium, magnesium, and sulfur — matter as well, particularly in sandy or heavily depleted soils. Running a soil test before the season begins takes very little time and removes a lot of guesswork. A basic test from a cooperative extension office or garden center costs around fifteen dollars and tells you exactly what your soil is missing before you spend money on the wrong yellow squash fertilizer.
The Best Yellow Squash Fertilizer Options (And When to Use Each)
The right fertilizer for your garden depends on your soil type, your climate, and your approach to growing — organic, synthetic, or a combination of both. Each product type has its place, and understanding when to reach for which one makes a meaningful difference in results.
Balanced Granular Fertilizers
A balanced granular fertilizer with an NPK ratio like 10-10-10 or 14-14-14 is a reliable starting point for most home gardens. Worked into the soil a couple of weeks before planting, or applied at the time of transplanting, these slow-release products feed the soil steadily over several weeks. That gradual release suits yellow squash well during the early establishment phase when the plant is focused on building roots and structure.
The main advantage of granular yellow squash fertilizer is how straightforward it is to use — apply it, water it in, and it does its job without much intervention. The limitation is that once it is in the ground, adjusting nutrient levels mid-season is not easy, which is where liquid options become useful.
Liquid Fertilizers
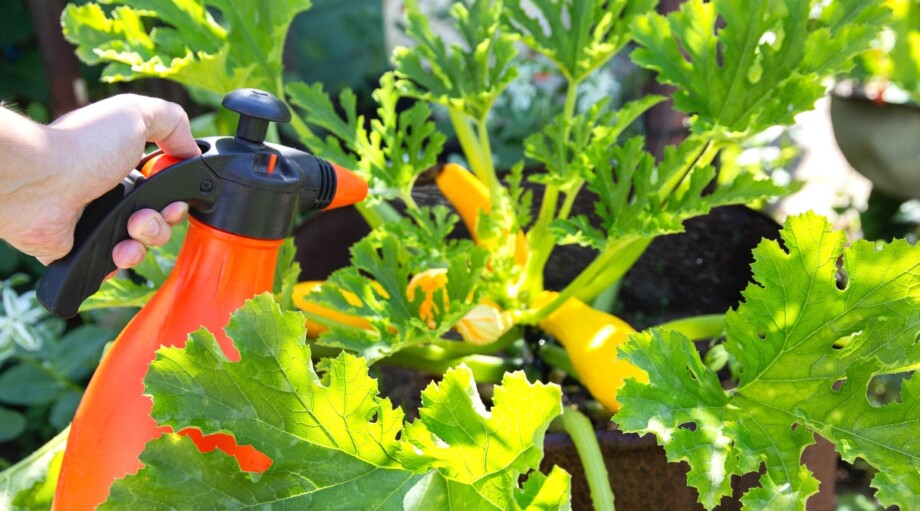
Liquid fertilizers — including fish emulsion, seaweed extract, and water-soluble synthetic blends — are particularly well-suited for mid-season applications. They are absorbed quickly through both roots and foliage, and they allow for real-time adjustments based on how your plants actually look and behave.
If your squash plants develop a washed-out appearance during peak production, a well-timed application of diluted liquid yellow squash fertilizer can produce visible improvement within a few days. That kind of responsiveness is genuinely valuable during critical growth windows that granular products cannot address as efficiently.
Organic Options Worth Knowing
Interest in organic yellow squash fertilizer has grown considerably, and the range of available products reflects that. Composted manure, worm castings, blood meal, bone meal, and kelp meal are all practical options that feed the plant while also contributing to long-term soil health.
Composted chicken manure, for instance, is a naturally nitrogen-rich amendment that breaks down gradually — well-suited for working into garden beds before the season begins. Bone meal provides phosphorus in a form that is gentler than many synthetic alternatives. Used consistently over multiple growing seasons, organic inputs build the kind of soil structure that benefits every crop you grow, not just squash.
Yellow Squash Fertilizer Schedule: Timing Is Everything
Timing is where most fertilizer programs fall apart. Plants that receive too much feeding too early become large and leafy but produce very little fruit. Plants that receive nothing after the initial application run out of nutrition during their most productive phase. A structured yellow squash fertilizer schedule addresses both of these problems.
| Growth Stage | Fertilizer Type | NPK Ratio | Timing |
|---|---|---|---|
| Pre-planting | Granular or compost | 10-10-10 or balanced | 2–3 weeks before planting |
| Seedling/transplant | Balanced liquid | 10-10-10 | At transplant |
| Early vegetative | Nitrogen-leaning liquid | 12-6-6 | 2–3 weeks after planting |
| Pre-flowering | Balanced or phosphorus-rich | 5-10-10 | When buds form |
| Fruiting stage | Low nitrogen, higher K | 5-5-10 | Every 2–3 weeks |
| Late season | Compost tea or kelp | Balanced organic | As needed |
The transition from nitrogen-forward feeding in the vegetative stage to phosphorus and potassium-focused nutrition once flowering begins is the most critical adjustment in any squash fertilizer schedule. Many gardeners continue applying high-nitrogen products all season because the plants look vigorous. In reality, that approach suppresses fruit development and reduces the overall harvest more than almost any other mistake.
How to Apply Yellow Squash Fertilizer Without Burning Your Plants
Even the most appropriate yellow squash fertilizer can cause real damage if applied carelessly. Fertilizer burn occurs when concentrated salts make direct contact with plant tissue or roots, showing up as browning leaf margins and sudden wilting. With a few straightforward practices, it is entirely preventable.
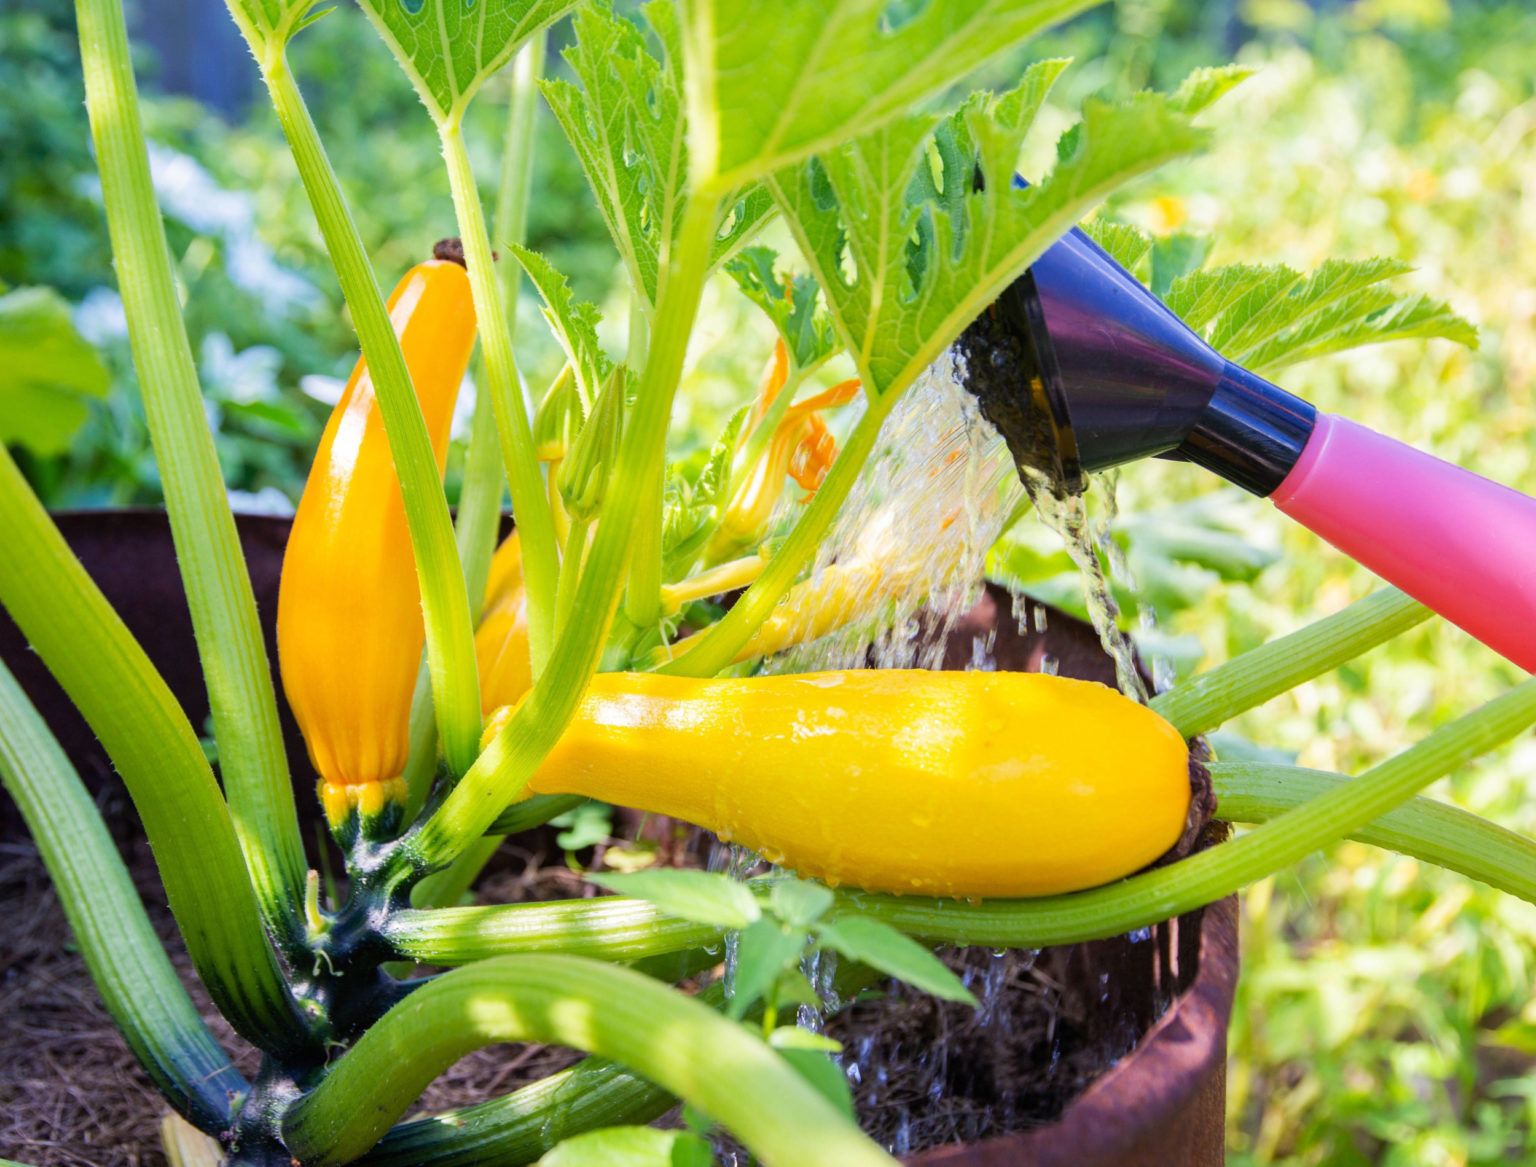
Always water the soil before applying granular fertilizer, particularly during dry stretches. Moist soil allows nutrients to move downward more evenly and keeps root tissue from coming into direct contact with undiluted product. When side-dressing with granular fertilizer, apply it in a ring several inches away from the stem base rather than right against the plant’s crown. Feeder roots extend well beyond the visible stem, and placing fertilizer where those roots are active gets nutrition where it needs to go without creating concentrated hot spots.
For liquid fertilizer applications, morning is the best time. Foliage that is wet during warm afternoon hours stays damp longer and becomes more susceptible to fungal issues — a concern that matters particularly for squash, which is already prone to powdery mildew in humid conditions.
Signs Your Yellow Squash Is Nutrient Deficient
Plants communicate nutritional stress clearly, and yellow squash is no exception. Recognizing the signs early gives you time to adjust your yellow squash fertilizer program before the damage becomes serious.
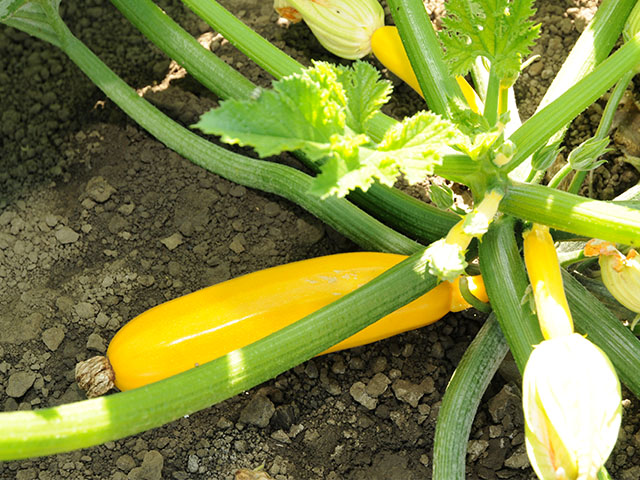
Yellowing lower leaves point to nitrogen deficiency. The plant draws nitrogen from its oldest leaves to support new growth, and that characteristic yellowing moves progressively upward through the plant over time.
Purple-tinged leaves or stems typically indicate a phosphorus shortage. This discoloration is especially common during cool weather, when root systems slow their nutrient uptake even if the soil is well-supplied.
Brown leaf edges combined with poor fruit development suggest insufficient potassium. Fruit from potassium-deficient plants may also lack the flavor and texture quality expected from a healthy harvest.
Stunted growth alongside unusually dark green foliage often reflects excessive nitrogen paired with phosphorus unavailability, a condition commonly caused by over-application or a pH level outside the ideal range.
Blossom drop without fruit formation is frequently tied to low phosphorus levels, inconsistent irrigation, or temperature extremes during the pollination window.
When any of these patterns appear, checking soil pH is a sensible first response. Nutrients may be present in adequate quantities but remain inaccessible to the plant if the pH is too high or too low. Yellow squash performs best in soil with a pH between 6.0 and 6.8.
3 Mistakes That Ruin a Yellow Squash Harvest
Continuing high-nitrogen fertilizer into the fruiting stage. Once squash begins setting fruit, its nitrogen requirement drops considerably. Pushing high-nitrogen yellow squash fertilizer beyond the vegetative phase keeps the plant producing leaves at the expense of the fruit it should be concentrating on. This is one of the most common reasons gardeners see lush, healthy-looking plants with disappointingly low yields.
Skipping the soil test. Without baseline data on your soil’s existing nutrient levels and pH, every fertilizer decision is a guess. A soil test eliminates that uncertainty for a very modest cost and steers you toward the specific amendments your soil actually needs rather than a generic broad-spectrum application.
Applying fertilizer to dry soil. Fertilizer applied to parched ground concentrates salts around the root zone and creates conditions for burn. Water thoroughly before applying any yellow squash fertilizer, and follow up with another watering afterward to carry nutrients into the active root zone where they can be absorbed.
Organic vs. Synthetic Yellow Squash Fertilizer: Which Should You Choose?
This is a question that comes up regularly in gardening communities, and the practical answer is that neither approach is universally better — it depends on what you are trying to accomplish. Synthetic fertilizers offer precision and speed, which makes them useful when correcting a specific deficiency mid-season. Organic options release more slowly, but they contribute to the long-term biology and structure of the soil in ways that synthetic products do not.
A hybrid approach is what many experienced gardeners settle into over time — incorporating compost and organic amendments before planting to build a strong soil foundation, then using targeted liquid fertilizers during the season to meet the plant’s changing needs. This combination gives you the sustained soil-building benefits of organic yellow squash fertilizer alongside the responsiveness of liquid applications when the plant needs a specific nutrient on a shorter timeline.
For gardeners working with containers or raised beds, liquid fertilizers carry particular importance. In smaller, enclosed soil volumes, nutrients leach out with regular watering more quickly than they do in open ground, which means replenishment needs to happen more often.
FAQs About Yellow Squash Fertilizer
How often should I fertilize yellow squash?
Once yellow squash reaches the fruiting stage, apply a balanced liquid yellow squash fertilizer every two to three weeks throughout the active growing season. Granular pre-plant applications generally sustain the plant through the first few weeks, but consistent follow-up feeding is what carries production through summer.
Can I use tomato fertilizer on yellow squash?
In most situations, yes. Tomato fertilizers are typically balanced or slightly higher in phosphorus, which aligns reasonably well with what squash needs during pre-flowering and fruiting. Avoid high-nitrogen tomato formulas once the plant begins producing fruit, as excess nitrogen at that stage works against yield.
Is compost enough to fertilize yellow squash?
In very fertile, well-amended soil, compost alone can sustain lighter-feeding crops. Yellow squash, however, is a heavy feeder with high nutritional demands, and compost alone rarely provides enough to support peak production — particularly over a long growing season. Supplemental feeding is generally necessary.
What happens if I use too much fertilizer on yellow squash?
Over-fertilization — especially with nitrogen — produces excessive vegetative growth, reduced fruit set, and increased vulnerability to pests and disease. Salt accumulation from repeated over-application can also inhibit root function and slow overall plant development.
When should I stop fertilizing yellow squash?
Begin tapering off your yellow squash fertilizer applications approximately four to six weeks before the first expected frost in your area. Fertilizing close to the end of the season encourages soft new growth that the plant will not have enough time to strengthen before cold temperatures arrive.
Conclusion
Productive yellow squash comes down to one consistent principle: give the plant what it needs, in the right form, at the right time. A thoughtful yellow squash fertilizer program is not about applying the most product — it is about matching nutrition to the plant’s actual stage of development and adjusting as the season progresses.
Begin with a soil test so you are working from real information rather than assumptions. Use a balanced fertilizer at planting, shift toward phosphorus and potassium as flowering begins, and keep a liquid option available for responsive mid-season corrections. Pay attention to how your plants look — they reflect their nutritional status clearly, and early adjustments make a far greater difference than corrective ones made late in the season.
Your immediate action step: check the NPK ratio on the fertilizer you are currently using and compare it to the growth stage your yellow squash is in right now. That one adjustment, made at the right moment, can meaningfully change what ends up on your table this season.


")
